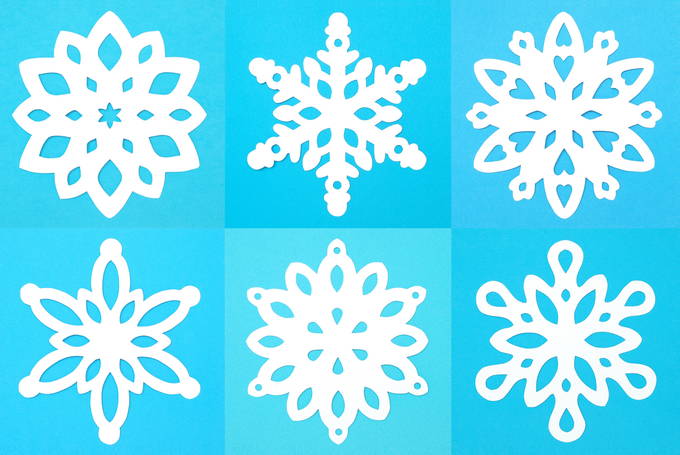
 It’s snowing in my house! Well…. it feels like snow because my kitchen cupboards are COVERED with snowflakes. A LOT of snowflakes. I thought I’d make a handful, but with a lot of revisions I ended up making 50.
There’s a bit of an art to designing these “not so simple after all” snowflakes. I prefer the rounded snowflakes over sharp and pointy ones. Also, snowflakes cut from an outside edge are easier to make. It’s hard to cut through several layers on the inside.
So, I’d draw one snowflake and my oldest daughter cut them out for me (she was an angel). If we didn’t like the result, I’d redraw it, and she’d re-cut it… This went on until we created our very best snowflakes.
We decided to give them Nordic names. And we’ve named this year’s snowflakes the “Elsa Series.”
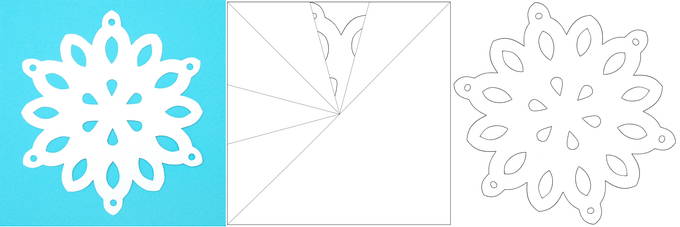
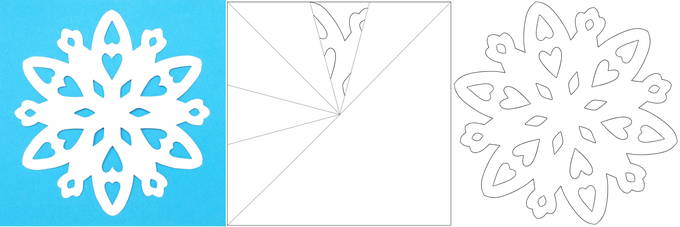
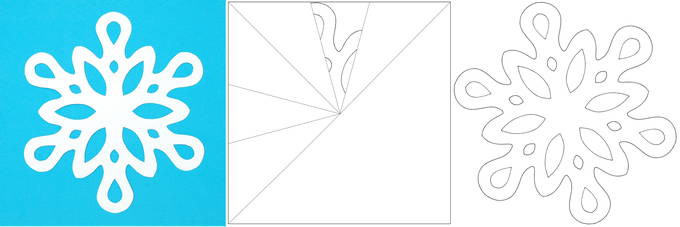
Here are the completed snowflake patterns by name. For each snowflake, two links are shown (for folded paper and full paper). All of the snowflakes are approximately 7″ by 7″.
- Folded paper – Print pattern on regular paper to fold and cut.
- Card stock – Print pattern on card stock and cut it out inside the lines.
Elsa
 Snowflake, Folded Paper – Elsa Pattern
Felicia
 Snowflake, Folded Paper – Felicia Pattern
Isabella
 Snowflake, Folded Paper – Isabella Pattern
Klara
 Snowflake, Folded Paper – Klara Pattern
Luna
 Snowflake, Folded Paper – Luna Pattern
Maria
 Snowflake, Folded Paper – Maria Pattern
So, when we were all done, I noticed that our scissors had a tissue wrapped around the handle several times. I was so puzzled and asked my daughter why the tissue was on there. She said she didn’t want her fingers to get sore from cutting. She loved cutting out each snowflake and didn’t want to stop.
To get the best results, use these step-by-step directions to fold and cut the snowflakes.
Snowflake, Folded Paper – Directions
The fun is when you open up the triangle and you’re surprised to see the beautiful design. I hope you enjoy making these snowflakes as much as we did.
See you at Walmart!
Jennifer
Leave a Reply
You must be logged in to post a comment.