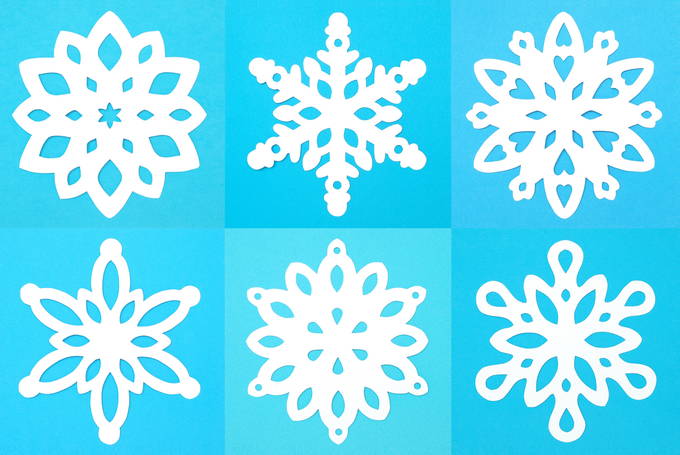
Supplies
- White paper
- Folded snowflake pattern
- Large and small fine point scissors (sharpen them if possible)
- Iron
Directions
Photocopy the pattern onto white paper to the size you want. These snowflakes are about 7” x 7″ inches.
1. Cut out the square from the paper.

2. Fold the square in half diagonally which makes a triangle. Use the dotted lines as a guide.
NOTE: The more exact you are with folding, the better the snowflake will turn out. Really press the creases tightly.

3. Fold the triangle in half again so that the corners meet. It will make another smaller triangle.

4. Now fold the triangle into thirds. First, fold it from right (the side with two edges) to left over the center. Use the dotted lines to guide you.

5. Then fold the opposite corner the other way, covering the first fold.

6. Cut straight across the top of the triangle.

7. Using both the large and small scissors as needed. Carefully cut out the areas of the design. Hold it together very firmly so the layers don’t move around.

8. Then gently unfold the paper and open up the snowflake fully. Trim any jagged edges with the fine tip scissors. The snowflake should look like its photo. With the setting on low heat, iron the snowflake flat on both sides.
